
Boost Your Productivity: Master Bullet Journaling with This Step-by-Step Guide

If you’re new to bullet journaling, don't worry—it’s easier than it sounds. This guide breaks it down into simple steps so you can organize your tasks, events, and ideas without getting overwhelmed. Let’s dive in!
Step 1: Create Your Journal’s Key
Before you start writing, it’s helpful to have a “key” that explains what each symbol in your journal means. Here’s a quick rundown:
Tasks (•): Use a dot for things you need to do.
Events (○): A circle marks appointments or special happenings.
Notes (–): A dash is for jotting down ideas or extra info.
Feelings (=): An equal sign can represent your mood or feelings.
You can also modify these symbols to show when tasks are completed (an X over the dot), moved to a future date (a > over the dot), or scheduled for later (a < over the dot). Highlight urgent or important items with a star (*) or exclamation mark (!). Keeping this key handy—either on the first page or on a sticky note—makes it easier to remember what everything means.
Step 2: Set Up Your Index
The index is like the table of contents for your journal. It helps you find your “Collections” (sections for different types of notes) quickly. To create your index:
Number each page: If your notebook isn’t numbered, add a number to every page.
Add Collections to your index: Whenever you start a new section (like a project list or habit tracker), write it down in the index with its page number.
Regularly updating your index, perhaps during your weekly or monthly review, will keep your journal organized.
Step 3: Plan Ahead with Your Future Log
Your future log is where you jot down events or tasks that are coming up in the next few months. It could cover six months, eight months, or even a full year—whatever works for you. Think of it as your long-term planner where you can keep track of things well in advance.
Step 4: Organize with a Monthly Log
The monthly log gives you a snapshot of the current month. It’s split into two parts:
Timeline: Use the left page to list upcoming events or deadlines.
Task List: On the right page, note down all the tasks for the month. This might include new items, things from your future log, or carry-overs from previous months.
Feel free to personalize this page—maybe use different colors for work, holidays, and personal tasks. The goal is to make it easy and fun for you to stay on track.
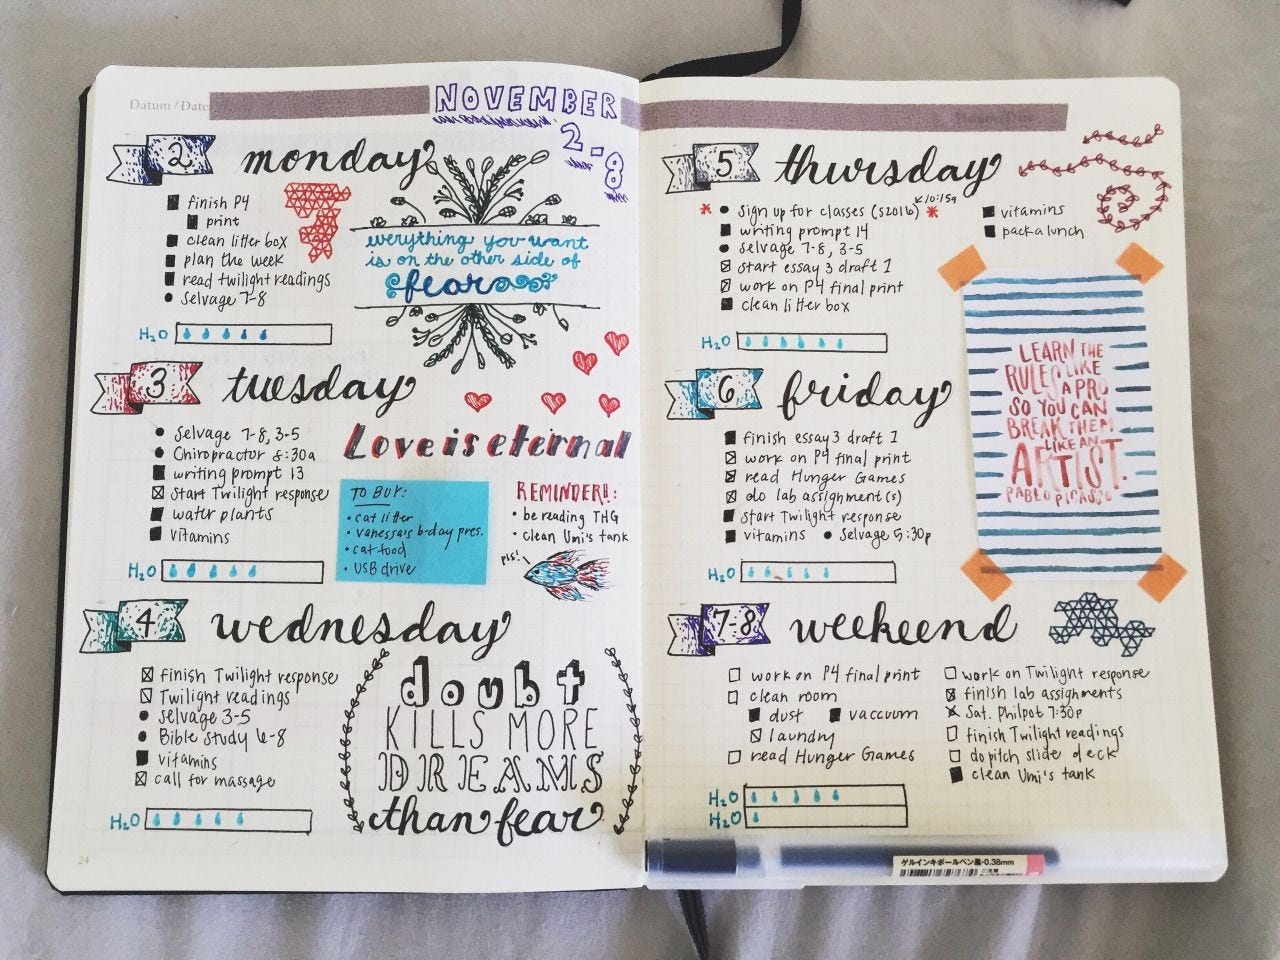
Step 5: Track Your Day with a Daily Log
The daily log is where the magic happens. Write down the date and quickly list your tasks, events, and any notes using the symbols from your key. This process, known as rapid logging, helps you capture your thoughts and plans quickly. Over time, you’ll develop a habit of checking back to see what you accomplished and what might need moving to another day.
Make It Your Own
One of the best parts of bullet journaling is that it’s completely customizable. As you get more comfortable, add “collections” tailored to your projects, goals, or interests. Experiment with different layouts, symbols, and even doodles. The more fun it is, the more likely you are to stick with it.
In a Nutshell
Bullet journaling is a simple and flexible way to keep track of your life. Start with the key, index, and logs (future, monthly, and daily), and you’ll be well on your way to a more organized and mindful daily routine. Stay tuned for Part 2, where we’ll dive into weekly and monthly reviews to help you process your thoughts and tasks even further.
Have questions or suggestions? Let me know what you think about bullet journaling, and if there are any other productivity methods you’d like me to simplify for you!
Happy journaling!